Arctic Cooling Freezer i30 – Review
The Cooler
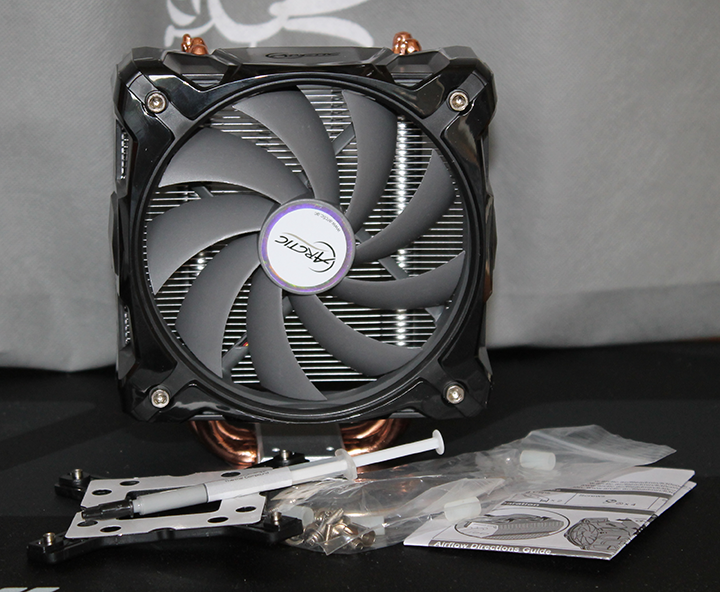
When you get it out of the box, the vast size of the cooler becomes a reality, it really is a bulky beast of a cooler. Standing at 161mm high and 139mm wide. In the image above you can see the bag of accessories that Arctic provide with the i30 CO.
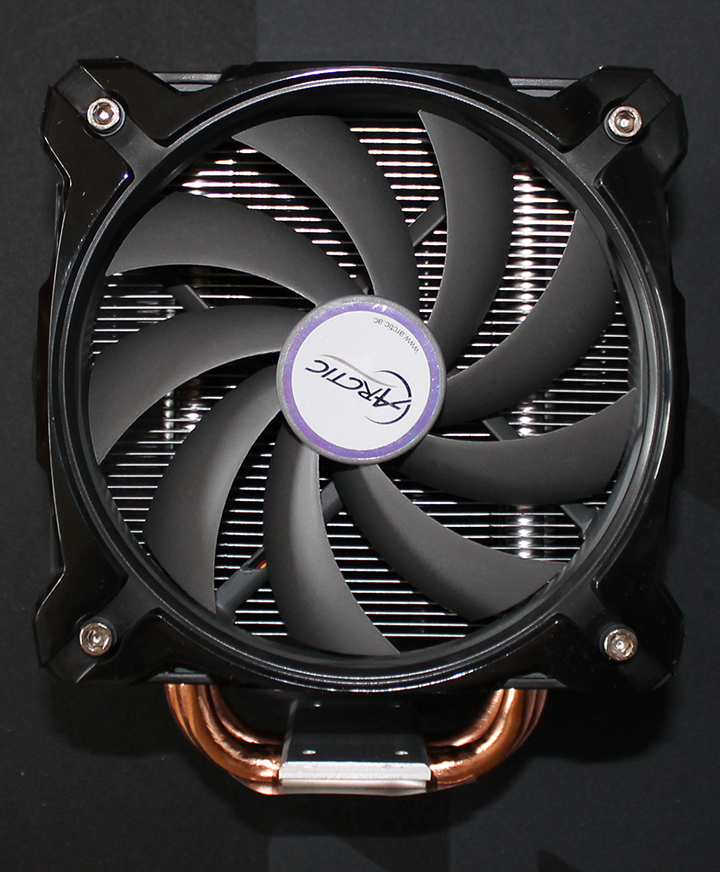
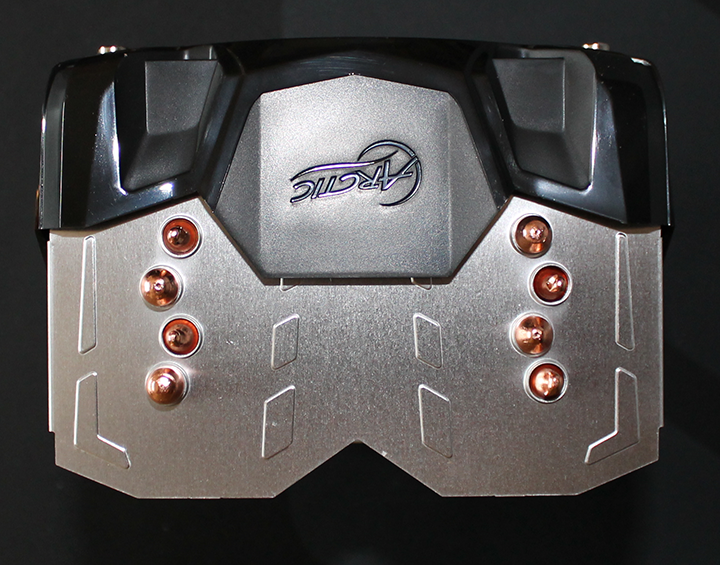
Above you can see the fan a bit more clearly as well as the four faux Allen headed bolts which slightly improve the aesthetics of the bracket but have no functional purpose.
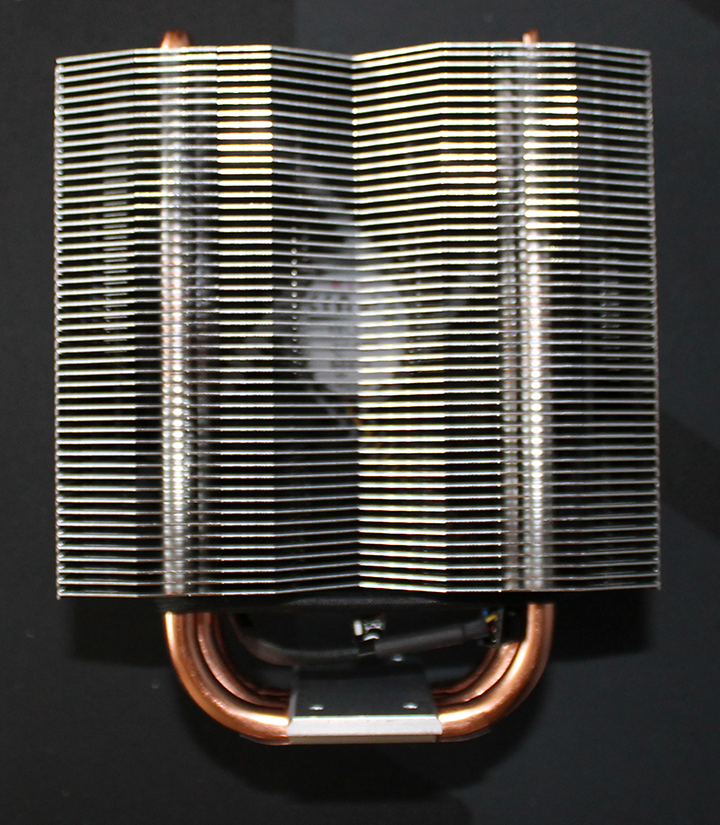
Here you can see the 48 individual aluminium fins that make up the i30 CO cooler. On each side, the fins have been bent downwards so that air is channelled through the cooler fully, rather than being allowed to escape out the side.
The fan shroud is quite sturdy and is exceptionally easy to remove when fitting the cooler or if you just want to change the provided fan out for something different.
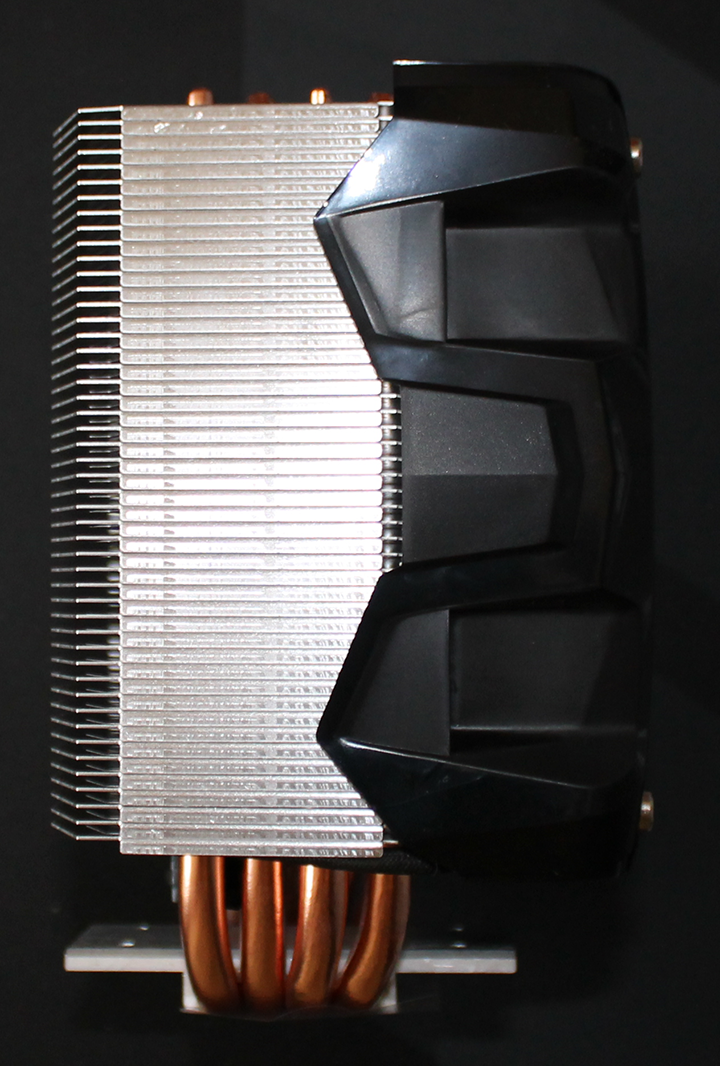
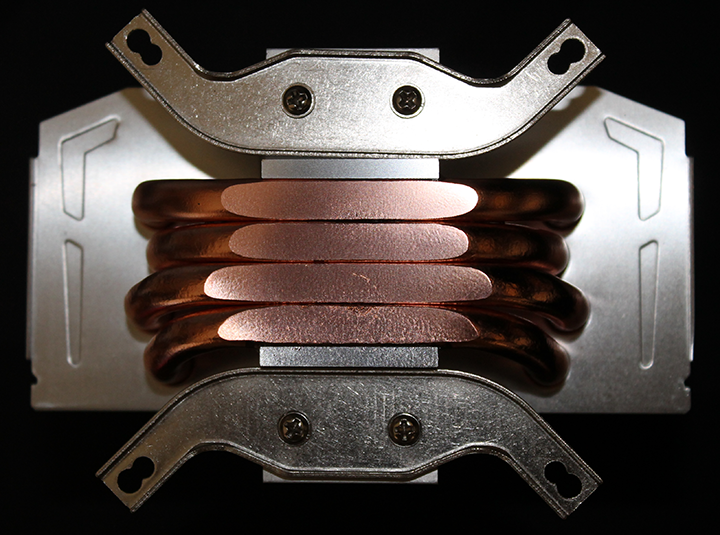
Arctic like a lot of other cooler manufacturers use heatpipes that directly make contact with the CPU, this generally allows for a quicker transfer of heat to the cooler as it is one less step in the exchange.
There are however some rather large gaps in between each of the pipes and the surface is not as smooth as I would have liked.
A good thing about the I30 CO and a fact that Arctic like to mention in the fitting instructions is that the I30 CO can be mounted to face any direction. Which means that no matter your case orientation you will be able to get the air going out in the right direction.
Installation
This is normally the part I look forward to. Unashamedly I have to say that my current case setup, an Aerocool Dead Silence, is probably not one of the best to review a large cooler such as the I30 due to the lack of space. That’s not to say it didn’t fit though.
The i30 CO is not hard to fit nor is it simple. Dependant on the access to behind your motherboard it may require removal of the motherboard so just bear that in mind.
During installation for socket 1155/1150/1156 based motherboards you will need to use the plastic spacers which you use to bolt the cooler to the provided backplate.
This part was quite fiddly. You need to attach adhesive tape to each spacer, this tape needs to be in the centre of each spacer getting it to stick to the centre of the spacer is almost an art form.
Once that part has been completed you are free to start fitting the cooler itself. From there it is fairly simple as well.
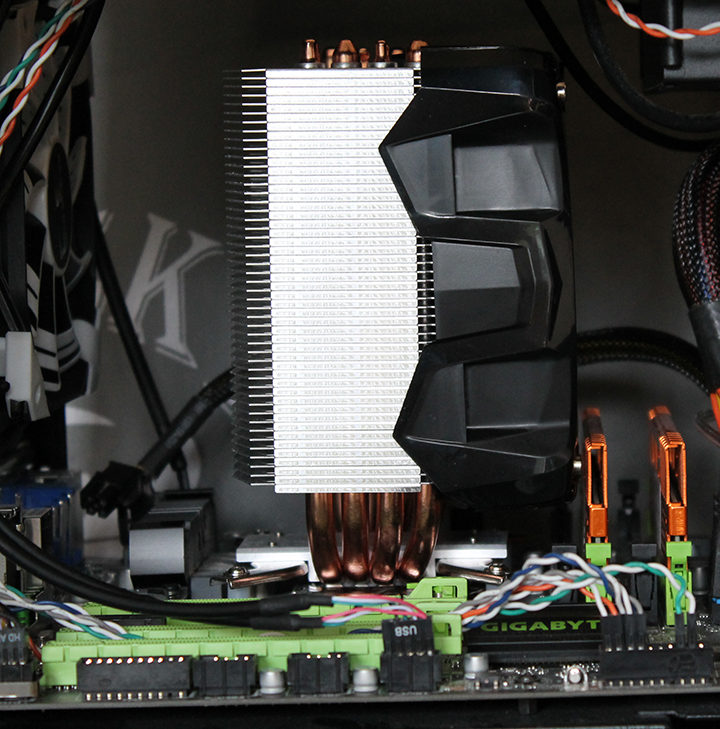
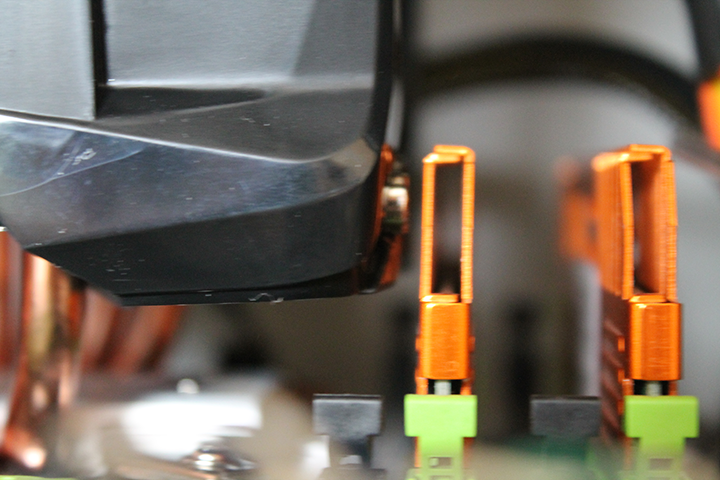
Once fitted the common issue with fitting tower coolers came into play here, with the fan obstructing the first ram slot, not much of an issue for myself as I only use two sticks but one thing to watch out for.
There is a good chance that if normal profile ram will fit and if low profile ram is used you won’t have any issues at all.

