devolo dLAN 1200+ Wi-Fi AC Powerline Starter Kit – Review
Set Up
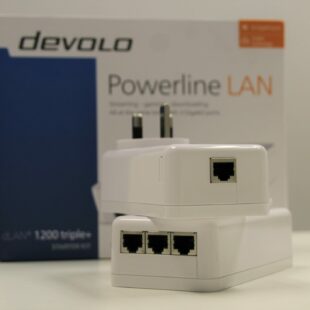
I already own a set of TP-Link home plugs and I was initially concerned that the two different brands would not work well together. After wrangling with the location of this pair to remove them, I similarly wrangled the devolo adapters into place. I was thankful that the network ports were located on the top of the adapters as this made it easy to plug the cables in.
To avoid you needing to remove the adapters shortly after installation, the first steps include reminding you to make note of the Wi-Fi key on the rear of the of the AC adapter.
After doing so you just need to plug both adapters in, the non AC adapter being the first. After you press the sync button on the second adapter and then make your way over to the first adapter to push its own sync button.
For me it took a few minutes to get the “go light” on the adapters but once done the data started flowing.
The other adapters that I had already, synced up in a similar fashion and again despite being a different brand connected to the main devolo adapter without any issue.
Software
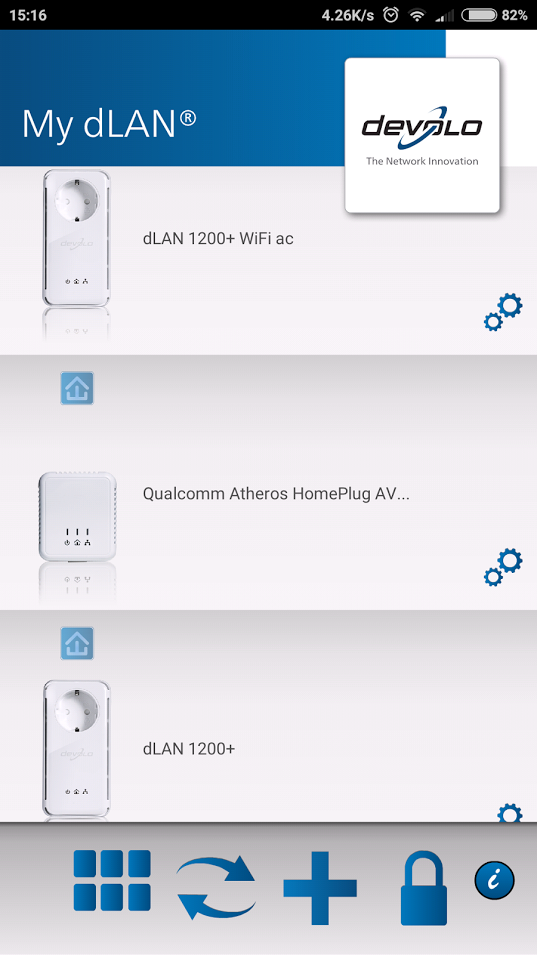
You would think that would be all that is needed, but to make it a bit easier to connect to the wireless in future devolo have an app available that allows you to manage the adapters.
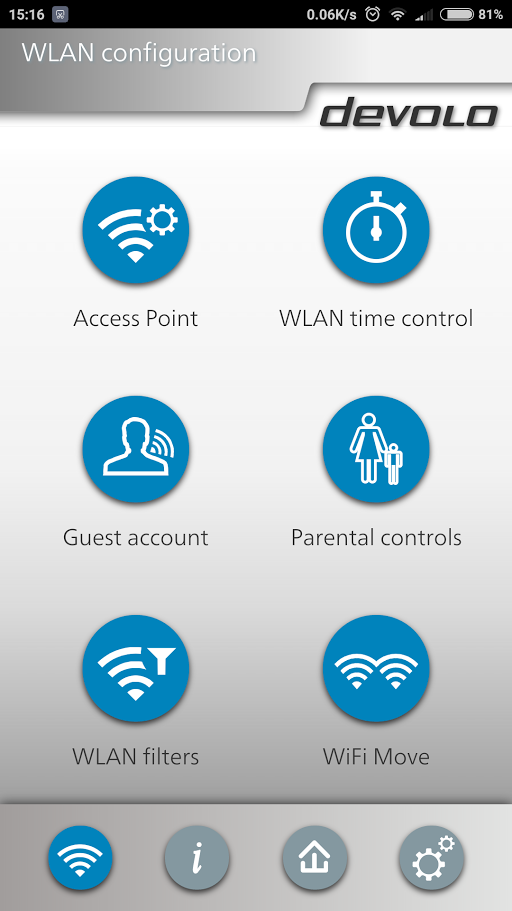
devolo Cockpit can be used to make changes to the wireless settings of the WiFi AC unit. This includes the ability to add parental controls, changing the WiFi settings, upgrading the firmware and general configuration changes.
In order to connect to the devices using Cockpit, you will need to have made note of the default Wi-Fi password on the back of the unit, as well as the control password on the second unit.
Whilst the parental controls are merely a time limit for individual devices, you do get a nice amount of options in devolo Cockpit overall.
[eap_ad_4]


